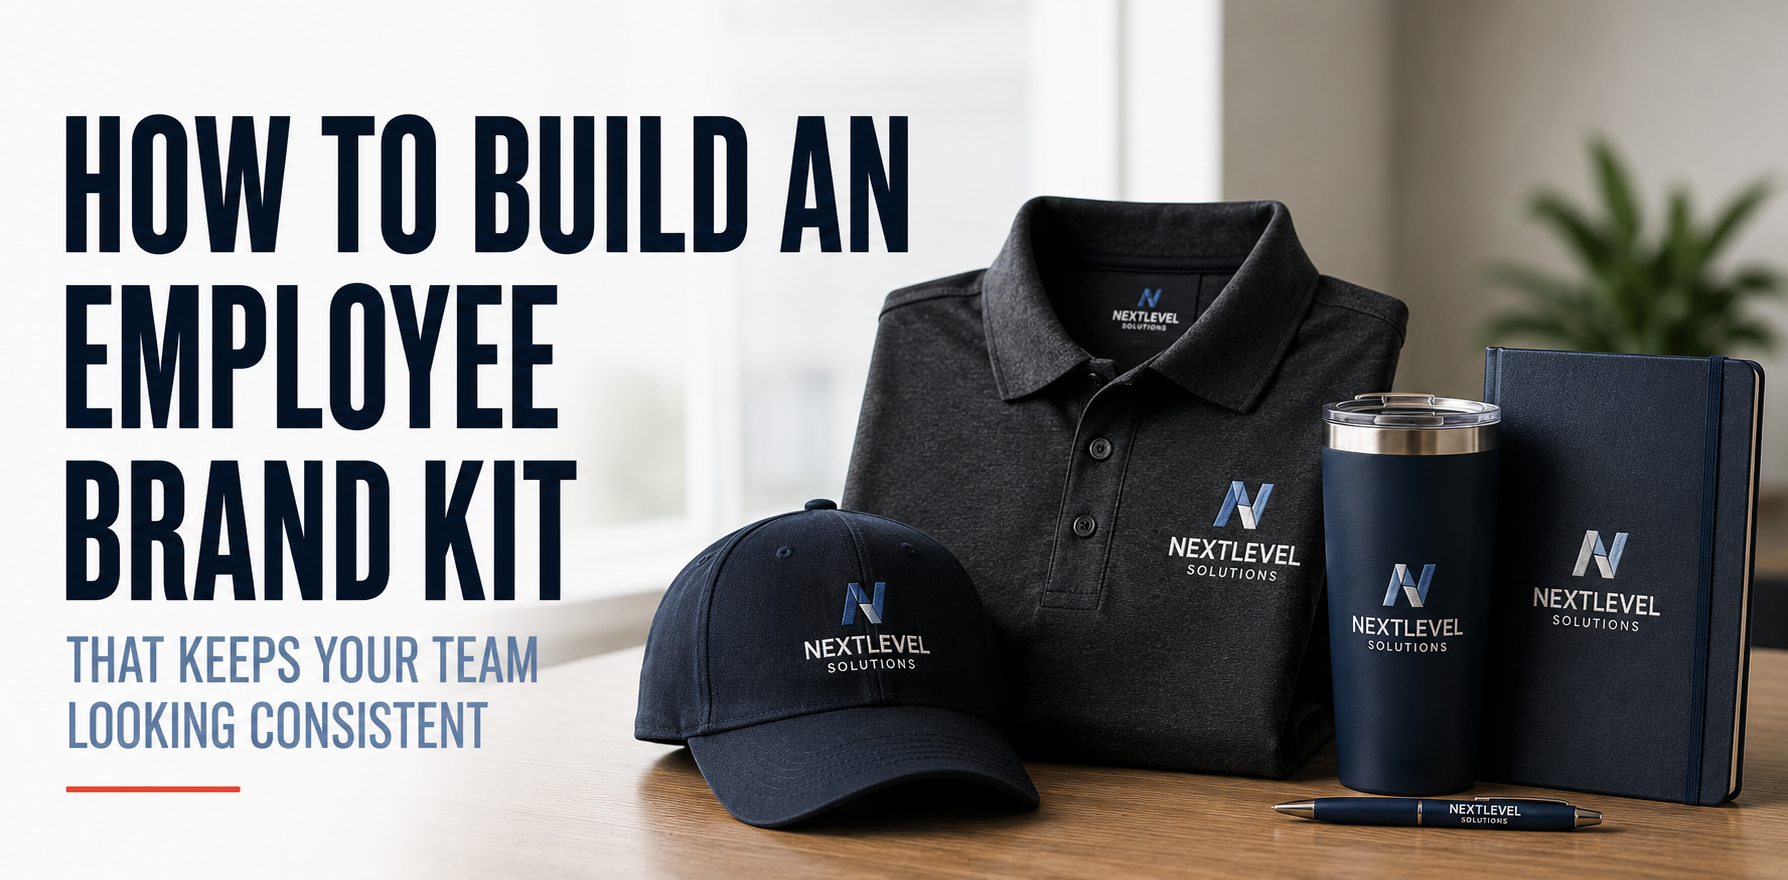
How to Build an Employee Brand Kit for Consistent, On-Brand Teams
Spring and summer tend to bring the same pattern: new hires ramp up, field work picks up, and teams start showing up at customer sites, job fairs, community events, and partner meetings. Then the request hits your inbox: “Can we get everyone matching by next week?”
That’s the real challenge with an employee brand kit. It’s not just choosing cool company swag. It’s building a repeatable system that keeps every employee looking consistent across departments, locations, and reorders. At Marked Promo, we see the difference between “we bought some branded stuff” and “we have a kit that works” every day.
1) The seasonal reality: hiring waves, events, and “we need it yesterday” requests
Employee kits usually break down when the business calendar gets noisy. Hiring, busy seasons, and schedule changes create rush orders, and rush orders create compromises.
What consistency really solves
- Fewer mismatched looks: One logo size, one placement, one set of approved items.
- Less time spent coordinating: You stop re-deciding the same products every month.
- More “worth keeping” items: Employees use the kit beyond day one, which keeps your brand visible.
The challenge: multiple departments, multiple reorder cycles
Marketing wants brand control. HR wants onboarding to feel polished. Operations wants the right gear for the job. If you don’t set standards, you end up with three versions of the same logo and a closet full of wrong sizes.
2) Why brand consistency matters for employees (and for you)
Trust, recognition, and fewer “off-brand” surprises
Consistent branded apparel and branded merchandise do three things fast: they signal professionalism to customers, they help teams feel like they belong, and they make your brand easier to recognize in the real world.
It also reduces the awkward stuff: the faded tee, the slightly wrong shade of blue, the logo that looks stretched, the hat that doesn’t match the shirt.
Consistency is operational, not just visual
A good branded employee kit is really a set of decisions you don’t have to revisit:
- Approved garments and colors for each role.
- Approved decoration methods and placements.
- Reorder rules that prevent last-minute scrambling.
3) What every employee brand kit should include
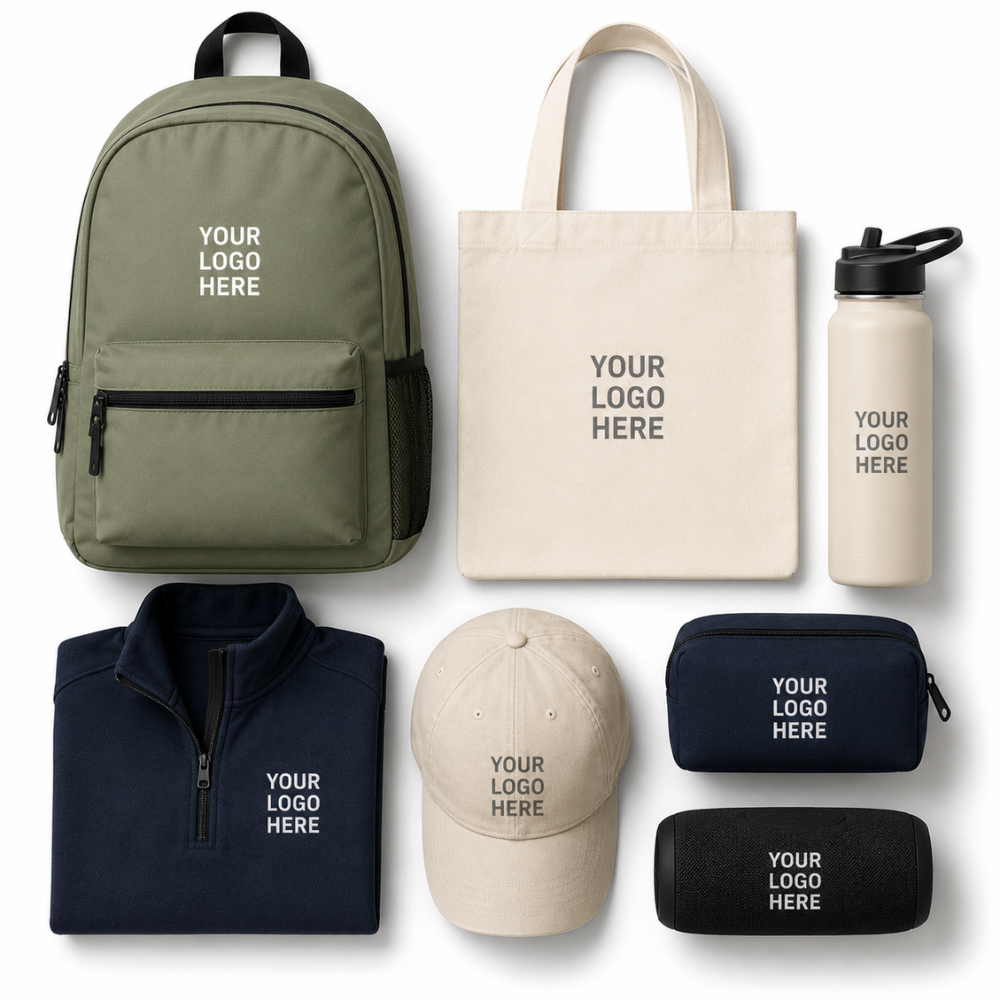
Think in layers. Not everyone needs everything, but most kits work best when they’re built from a consistent core.
Core apparel (the “uniform” layer)
- 1–2 tops: Polo, work shirt, or tee depending on role and setting.
- 1 outer layer option: Lightweight jacket, quarter-zip, or hoodie for changing weather.
- Role-based add-ons: Safety colors, performance fabric, or retail-ready styles.
Everyday desk items (the “daily use” layer)
- Notebook: A simple, durable cover.
- Pens: Smooth ink, not novelty.
- Mousepad or desk item: Optional, but useful if you want daily visibility.
On-the-go essentials (the “field” layer)
- Drinkware: Bottle or tumbler employees will actually carry.
- Bag: Tote, backpack, or lunch cooler depending on the job.
- Charge cable: Optional, but high-use for travel-heavy teams.
Identity and access (the “credential” layer)
- Name badge: Especially for customer-facing teams.
- Lanyard or badge reel: Pick one standard style for your org.
- Sticker sheet: Great for laptops, hard hats, and toolboxes.
4) Product breakdown: what to choose, why it works, and what to watch
Below are the usual winners for an employee welcome kit and ongoing employee distribution. Each item includes why it works and the details that prevent mistakes.
Branded polos or work shirts
- Why it works: Polos read as “professional” without feeling stiff. Work shirts hold up for operations roles.
- Key considerations: Choose consistent fabric weight, confirm color availability, and standardize logo placement.
- Worth keeping factor: Employees wear these on customer visits, site walkthroughs, and casual office days.
Branded t-shirts for casual and events
- Why it works: T-shirts are easy to distribute and easy to reorder in volume.
- Key considerations: Don’t mix five different shirt blanks. Pick one or two and stick with them.
- Worth keeping factor: The right fit and soft feel turns “free shirt” into a repeat wear.
Outerwear for unpredictable weather
- Why it works: Outerwear gets seen. It’s one of the best long-term visibility items.
- Key considerations: Confirm lead times, size range, and whether embroidery will be clean on the fabric.
- Worth keeping factor: A good quarter-zip or lightweight jacket becomes a daily staple.
Pro tip: If your team spans indoor and outdoor roles, offer two outerwear options at the same price point: one performance layer and one heavier layer. You’ll reduce returns and complaints.
Headwear for outdoor roles
- Why it works: Caps get worn immediately and keep your logo in circulation.
- Key considerations: Standardize the cap color and logo size. Small changes look bigger on hats than on shirts.
- Worth keeping factor: A comfortable, broken-in style outperforms trendy, stiff options.
Drinkware people keep
- Why it works: High daily usage. A tumbler on a desk is constant brand presence.
- Key considerations: Pick one standard size, confirm lid style, and choose an imprint method that won’t scratch.
- Worth keeping factor: Durable, leak-resistant drinkware avoids the “nice idea, never used” problem.
Notebook + pen set that actually gets used
- Why it works: It supports onboarding, training notes, and day-to-day meetings.
- Key considerations: Avoid ultra-cheap pens that skip and notebooks with flimsy binding.
- Worth keeping factor: Clean branding on a quality notebook feels intentional, not promotional.
Bags for commutes, job sites, and travel
- Why it works: Bags are practical and visible in public.
- Key considerations: Match the bag type to the job. A tote for a field tech is usually the wrong tool.
- Worth keeping factor: If it carries real weight and has sturdy straps, it sticks around.
Name badges and lanyards
- Why it works: It helps customers and coworkers connect quickly, especially in multi-site environments.
- Key considerations: Decide whether you need magnetic backing, pin backing, or badge reels for safety.
- Worth keeping factor: Consistent credentials improve the “put-together” look instantly.
5) How to customize kits by industry without reinventing the wheel
Start with one core kit, then adjust add-ons based on role and environment. That keeps ordering simpler and branding tighter.
Construction and trades
- Best kit focus: Job-ready apparel, safety visibility, and durable drinkware.
- Smart add-ons: Beanies, safety vests, and hard hat stickers.
- Watch for: Sizing range, heat-friendly fabrics, and inventory volatility in workwear brands.
Healthcare and clinics
- Best kit focus: Clean, consistent tops, layers for cold buildings, and easy-to-clean items.
- Smart add-ons: Badge reels, embroidered fleeces, and pens that don’t leak.
- Watch for: Department color rules and name embroidery requirements.
Schools and districts
- Best kit focus: Staff recognition, event readiness, and school spirit items that get worn.
- Smart add-ons: Spirit tees, lanyards, and tote bags for supplies.
- Watch for: Multiple logos, booster groups, and inconsistent art files.
Nonprofits and community organizations
- Best kit focus: Volunteer-friendly apparel, practical bags, and drinkware for long days.
- Smart add-ons: Event shirts, hats, and simple notebooks for field notes.
- Watch for: Short timelines tied to campaigns and fundraisers.
Corporate offices and hybrid teams
- Best kit focus: Polished basics that work on camera and in meetings.
- Smart add-ons: Premium drinkware, subtle embroidered apparel, and quality notebooks.
- Watch for: Shipping to home addresses and keeping packaging consistent.
6) Ordering guidance: timing, quantities, and avoiding last-minute stress
Most kit issues aren’t design problems. They’re planning problems.
A simple timeline you can reuse
- Weeks 6–8: Confirm kit items, logo files, and decoration method standards.
- Weeks 4–5: Place the order, approve proofs quickly, and confirm any size personalization.
- Weeks 2–3: Production window and quality check, plus shipping buffer.
- Week 1: Kitting, distribution plan, and backup inventory check.
How many kits to order (and how many extras)
For a first run, a practical approach is: forecast needs, then add a buffer for real life.
- Baseline: Expected hires for 60–90 days plus replacements for damaged or missing items.
- Buffer: 5–10% extra on core items that don’t expire (tees, pens, stickers).
- Limit overbuying: Keep premium items (outerwear) closer to your confirmed count.
Pro tip: If you do apparel sizing at scale, order extra in the sizes you burn through fastest. In many organizations, that’s L and XL, but check your internal data before you assume.
Pro tip: build a “fast start” kit for day-one readiness
Keep a small inventory of size-flexible items so new hires aren’t waiting two weeks to look like part of the team. Example: a hat, a notebook, a pen, a sticker sheet, and a one-size drinkware item. Then follow up with sized apparel in a second drop.
7) Common mistakes when ordering branded merchandise (and how to prevent them)
Delays caused by artwork and approvals
- Pitfall: Low-res logos, missing brand guidelines, or too many stakeholders approving.
- Prevention: Lock one approver and store final art files in a shared folder.
- Planning move: Build approval time into the schedule, not on top of it.
Inventory shortages and backorders
- Pitfall: Choosing a garment that is available today but not reliably available for reorders.
- Prevention: Select core items with stable supply and list one pre-approved substitute.
- Planning move: Reorder before you hit zero, especially for popular colors and sizes.
Sizing errors that create waste
- Pitfall: Guessing a size breakdown or ignoring women’s cuts and tall options.
- Prevention: Use a fit poll, or keep sizing samples in the office for sign-off.
- Planning move: Separate “event tees” from “uniform tops” if the fit expectations differ.
Mixing decoration methods without a plan
- Pitfall: The same logo looks different across embroidery, screen print, and heat transfer.
- Prevention: Standardize by item category (embroider polos, print tees) and document it.
- Planning move: Decide upfront where you can tolerate variation and where you can’t.
Too many items, not enough usefulness
- Pitfall: Filling a box with novelty items that don’t get used.
- Prevention: Prioritize “comfort, practicality, worth keeping.”
- Planning move: Spend on fewer, better items with longer shelf life.
8) Keeping logos, colors, and decoration methods consistent
Create a “kit spec sheet” your team can reuse
This is the simplest tool that prevents chaos. Your spec sheet should include:
- Logo files: Vector format plus approved one-color versions.
- Brand colors: PMS references and acceptable thread/ink matches.
- Placement rules: Left chest size, full front size, sleeve logo option.
- Item list: Exact style numbers, colors, and decoration method per item.
When embroidery beats printing, and vice versa
- Embroidery: Best for polos, hats, and outerwear where you want durability and a finished look.
- Screen printing: Best for tees and volume runs where you want clean, consistent graphics.
- Heat transfer: Useful for small runs or complex art, but you need the right material and application to avoid peeling.
How to handle vendor changes or product swaps
If an item gets discontinued or a color shifts, you want a controlled pivot:
- Use pre-approved alternates: Same color family, similar fit, same decoration method.
- Do a test sample: Especially when changing fabric type or moving from print to embroidery.
- Update the spec sheet: Treat it like a living document, not a one-time file.
9) How an online company store simplifies onboarding and reorders
A well-built company store is what turns a kit into a system. It protects consistency and makes reordering boring, which is exactly what you want.
What a company store should control
- Approved products only: No random substitutions that drift off-brand.
- Decoration standards: Same logo size, same placement, same method each time.
- Role-based collections: Field team vs. office team, new hire kit vs. anniversary gear.
Who approves what (so you’re not the bottleneck)
- Marketing: Owns brand rules and approves new items.
- HR or operations: Owns kit assignment and budget limits.
- Managers: Can trigger orders inside the guardrails.
What to stock vs. what to order on demand
- Stock: High-turn basics like tees, pens, and stickers.
- On demand: Outerwear and higher-ticket items that vary by size.
- Hybrid: Keep a small buffer in common sizes, then replenish on a schedule.
10) Practical checklist: build your first employee brand kit
Kit planning checklist
- Define kit purpose by role and environment.
- Pick a core set of items you can reorder.
- Decide what needs personalization (names, titles).
- Set a target cost per kit and per add-on.
Brand consistency checklist
- Store final logo files in one shared location.
- Choose PMS colors and acceptable matches.
- Lock decoration method by item category.
- Document logo size and placement rules.
Reorder and inventory checklist
- Forecast hires and seasonal staffing changes.
- Set reorder points for core items.
- Plan for backorders with approved alternates.
- Order small buffers in high-velocity sizes.
Consistent kits don’t happen by accident. They happen when you standardize the basics, plan for real-world variability, and make reorders simple. If you want help building a customized employee onboarding kit or setting up an online company store that keeps everything on-brand, request a quote from Marked Promo. We’ll help you pick the right products, lock the specs, and build a system your team can actually maintain.